Client: Family of four
Location: Los Angeles, CA.
Current home specs: 2 bed. 2 bath. 1300 sq. ft
This design project began as a kitchen remodel and evolved into an interior home redesign. Adding a bedroom became paramount since the client's two children shared a room. An architect friend of the clients, had an idea to essentially transpose the locations of the kid's bedroom with the existing kitchen and dining room. It was difficult for the client to envision how this would look. I started by creating several 2D design concepts with the the architects design in mind and some additional drawings with keeping the bedrooms at the back of the home. Another question early on was whether we could accomplish adding a bedroom with staying within the current footprint of the home. I presented several 2D line drawings within the home's footprint and others reflected additions to the back and side of the home. It quickly became apparent that working within the current footprint was not going to get the clients what they were looking for. Ultimately two designs were chosen to be pulled into 3D. Both designs would have an addition to the back of the home and one would also extend into the existing driveway.
The first design maintained the Kitchen, dining and living room at the front of the home and the bedrooms at the back. The design has an 10' addition off the back and a 4' extension to a portion of the driveway side of the home. The additional space allowed for a 3rd bedroom, family room, spacious kitchen with driveway side entry and a laundry/office space.
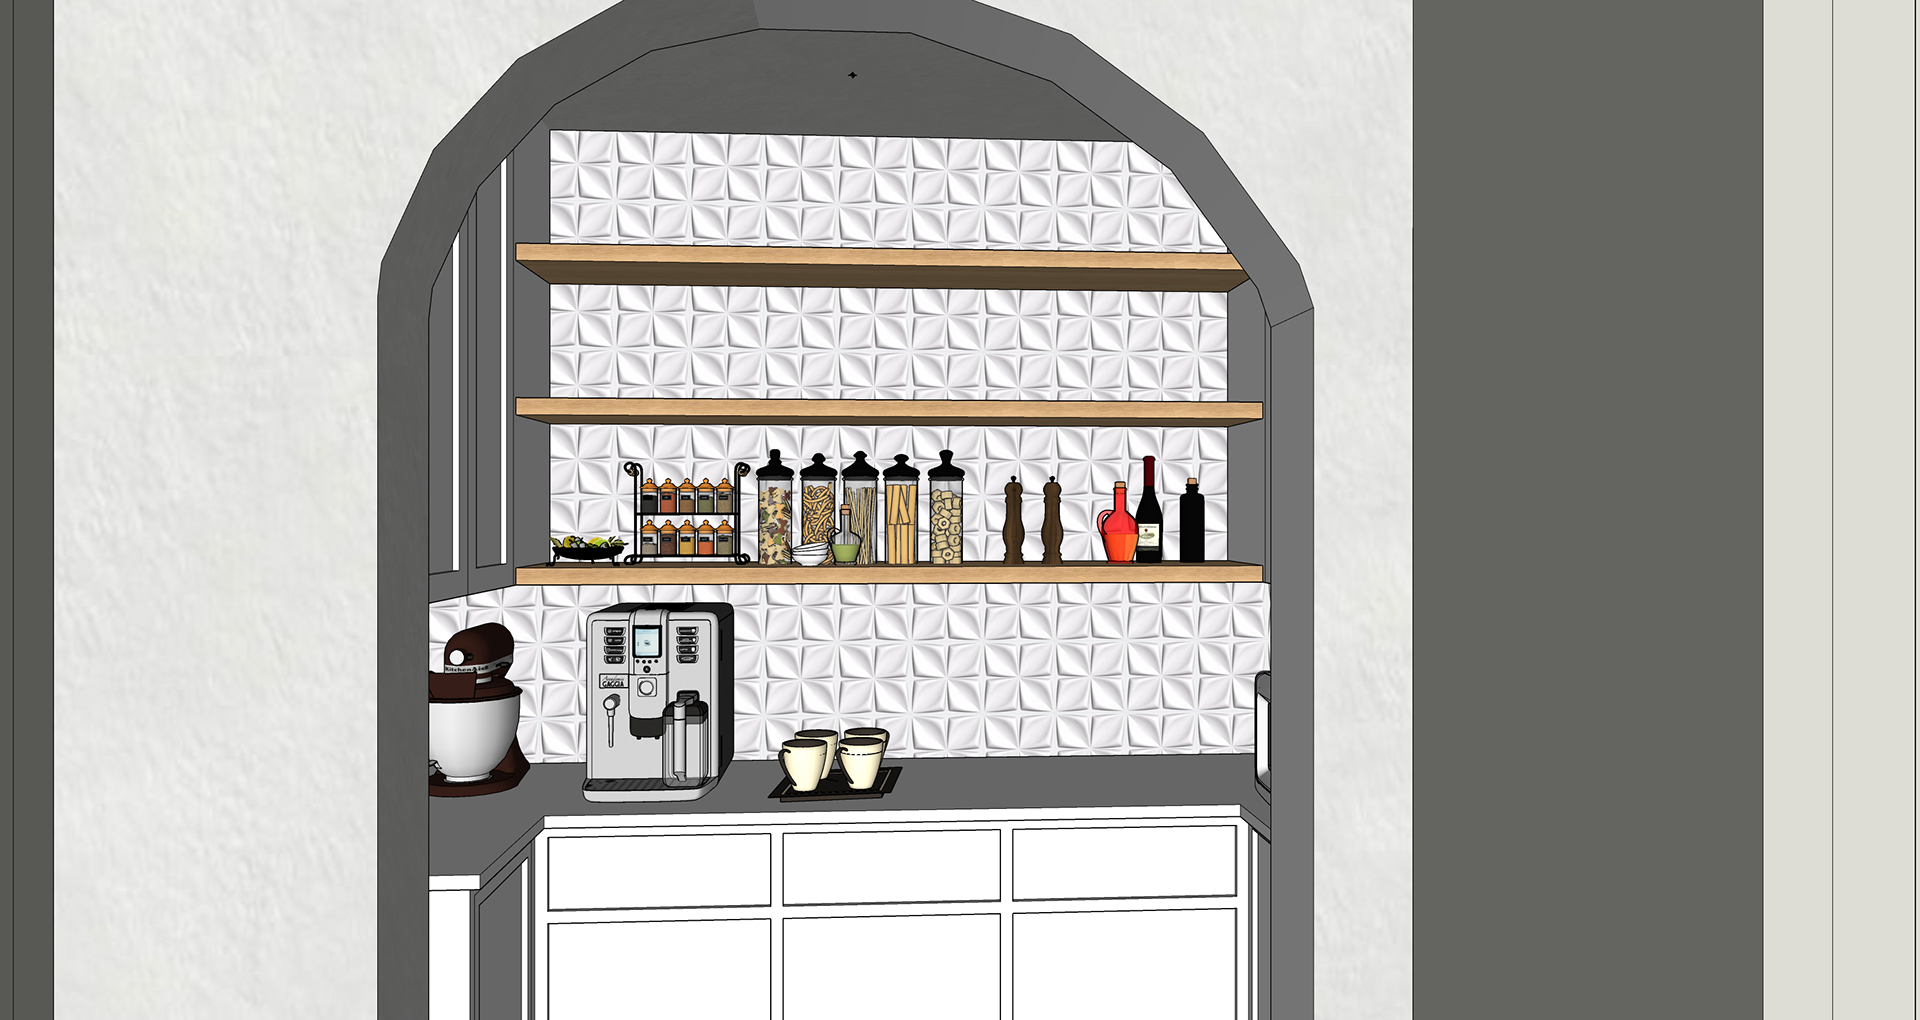
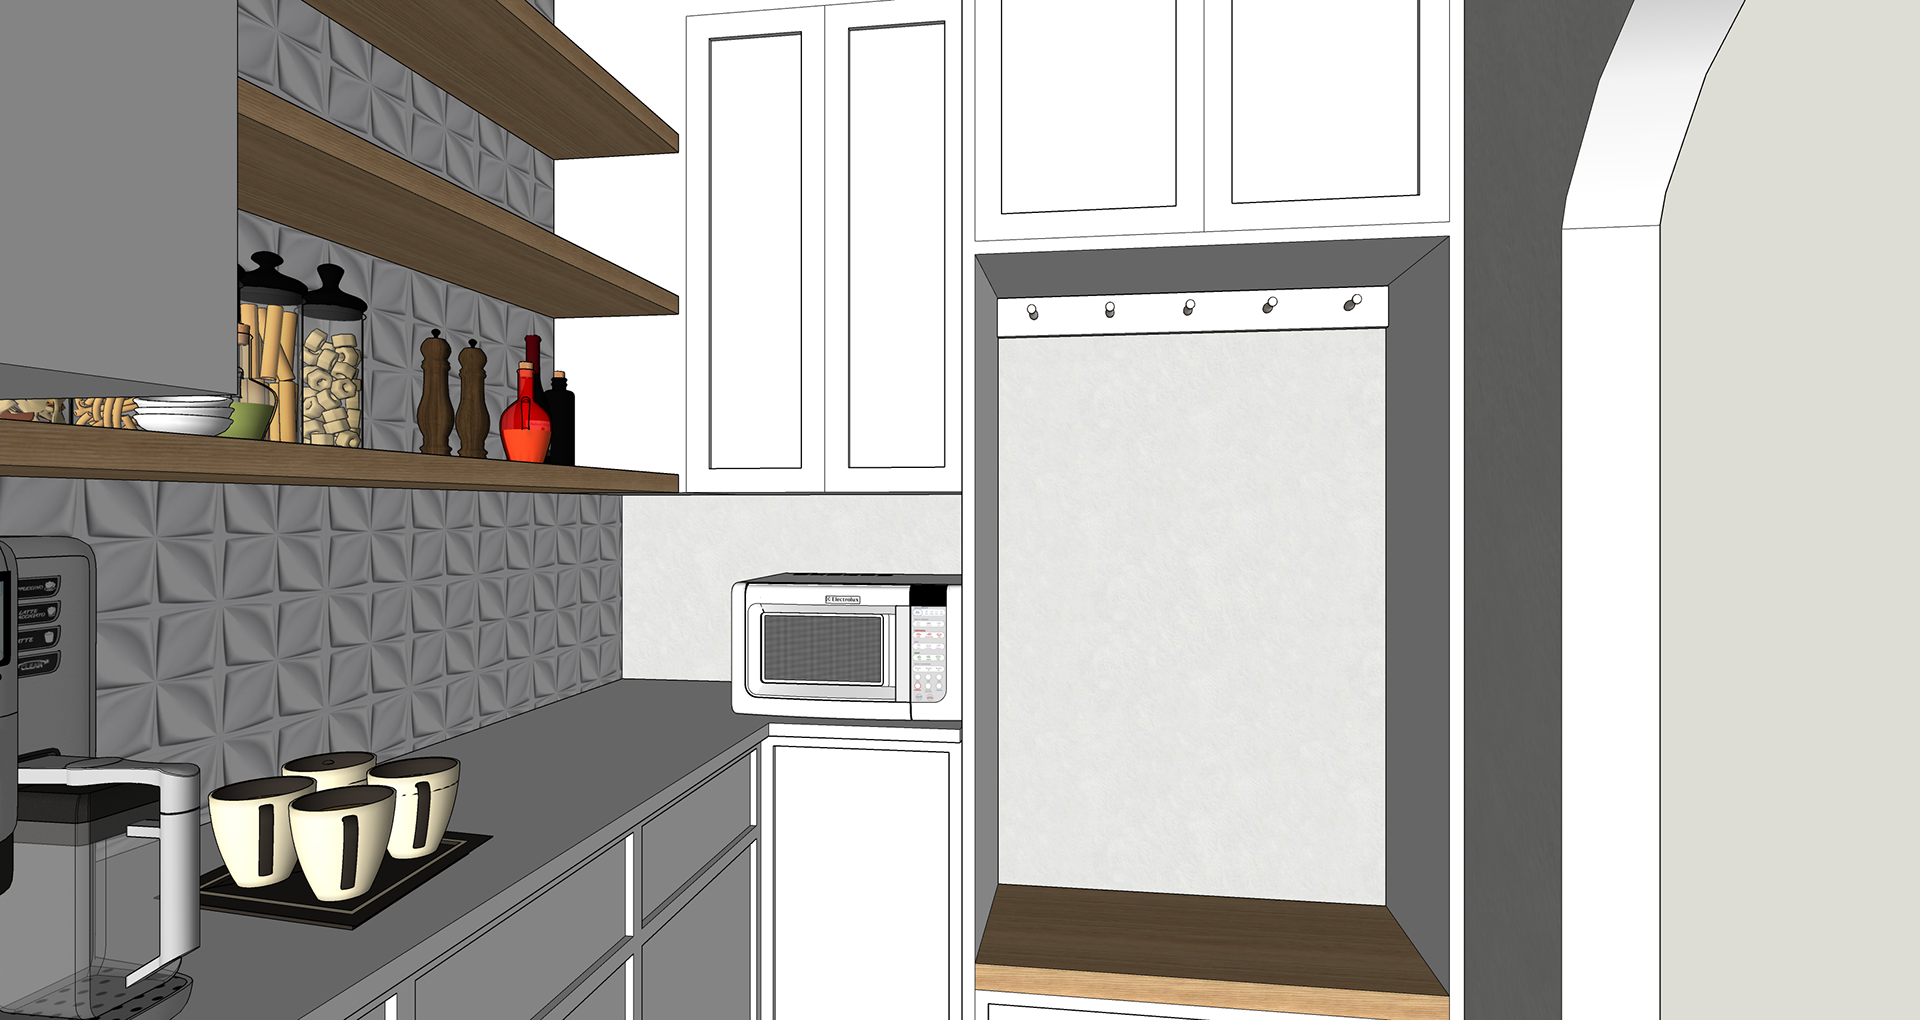
The second design was to flip the interior layout of the home. The kitchen and dining room would be relocated to the rear of the home and the children's rooms would move to the front. A small extension off the side of the house provides an entry that opens into a mudroom/pantry adjacent to the kitchen.
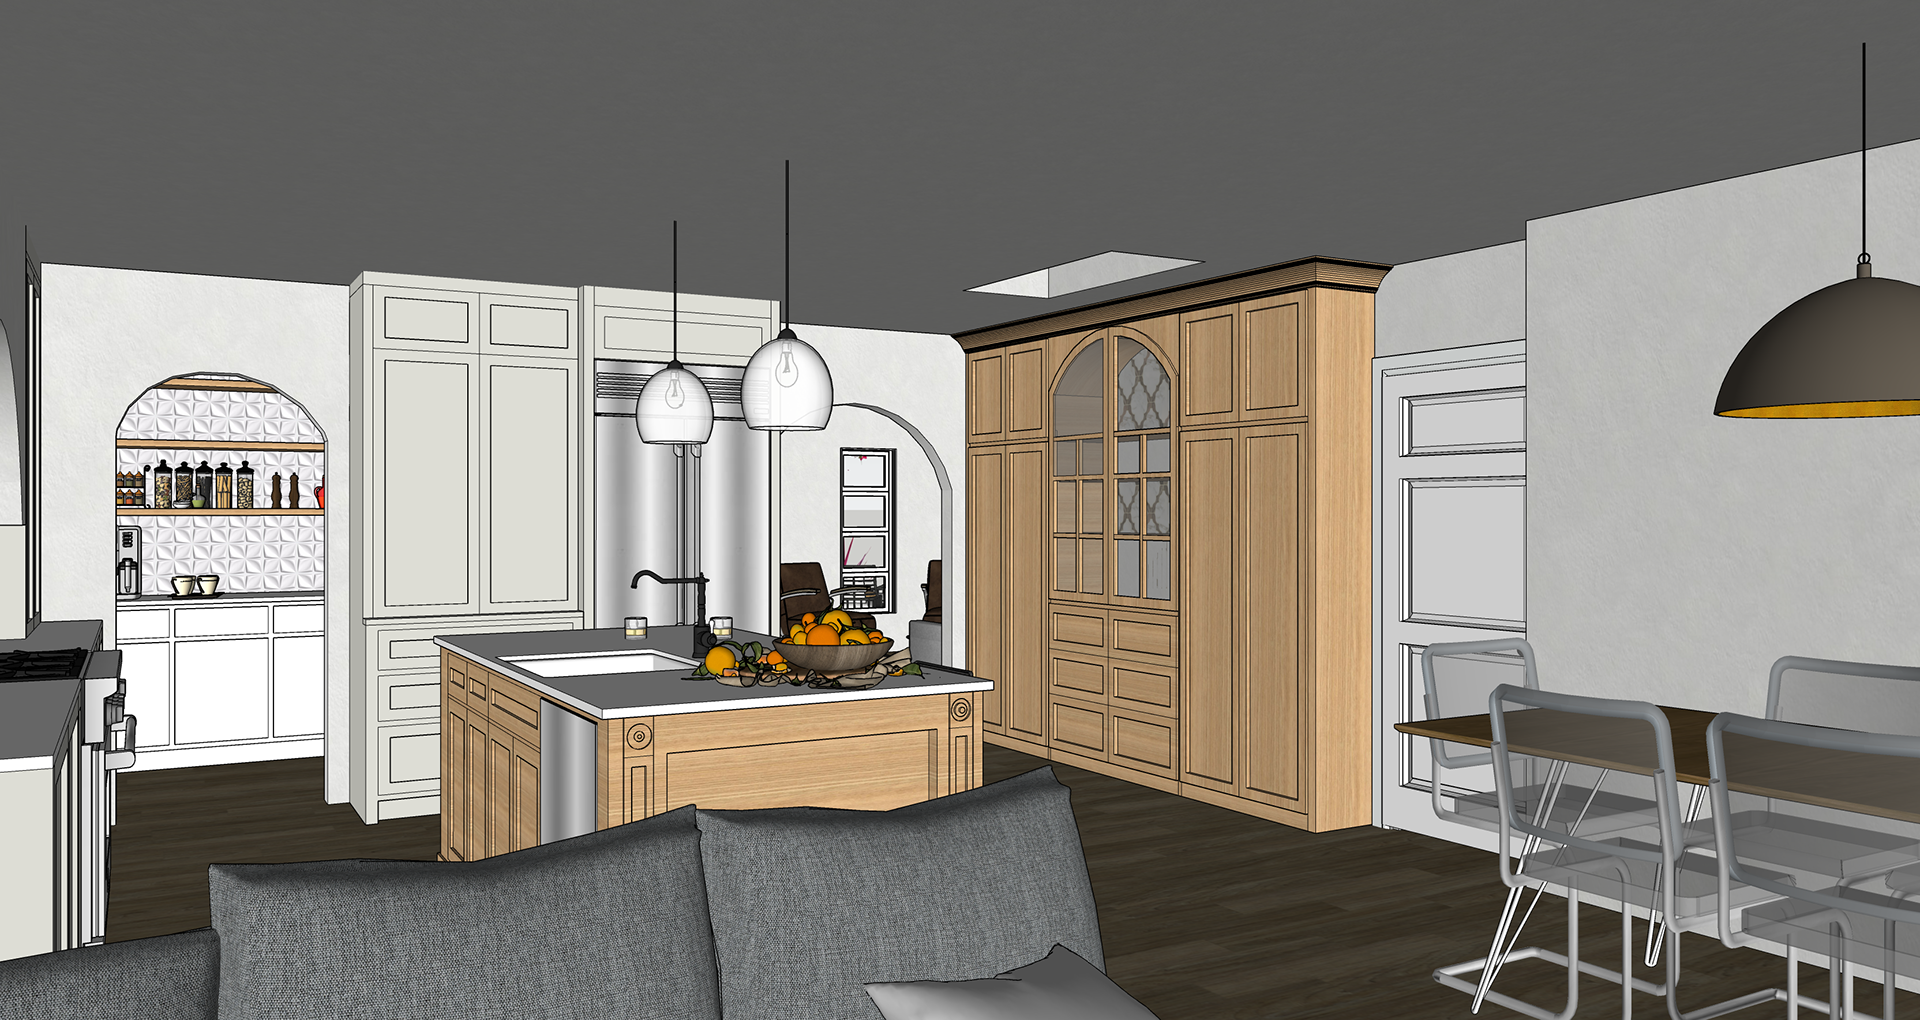
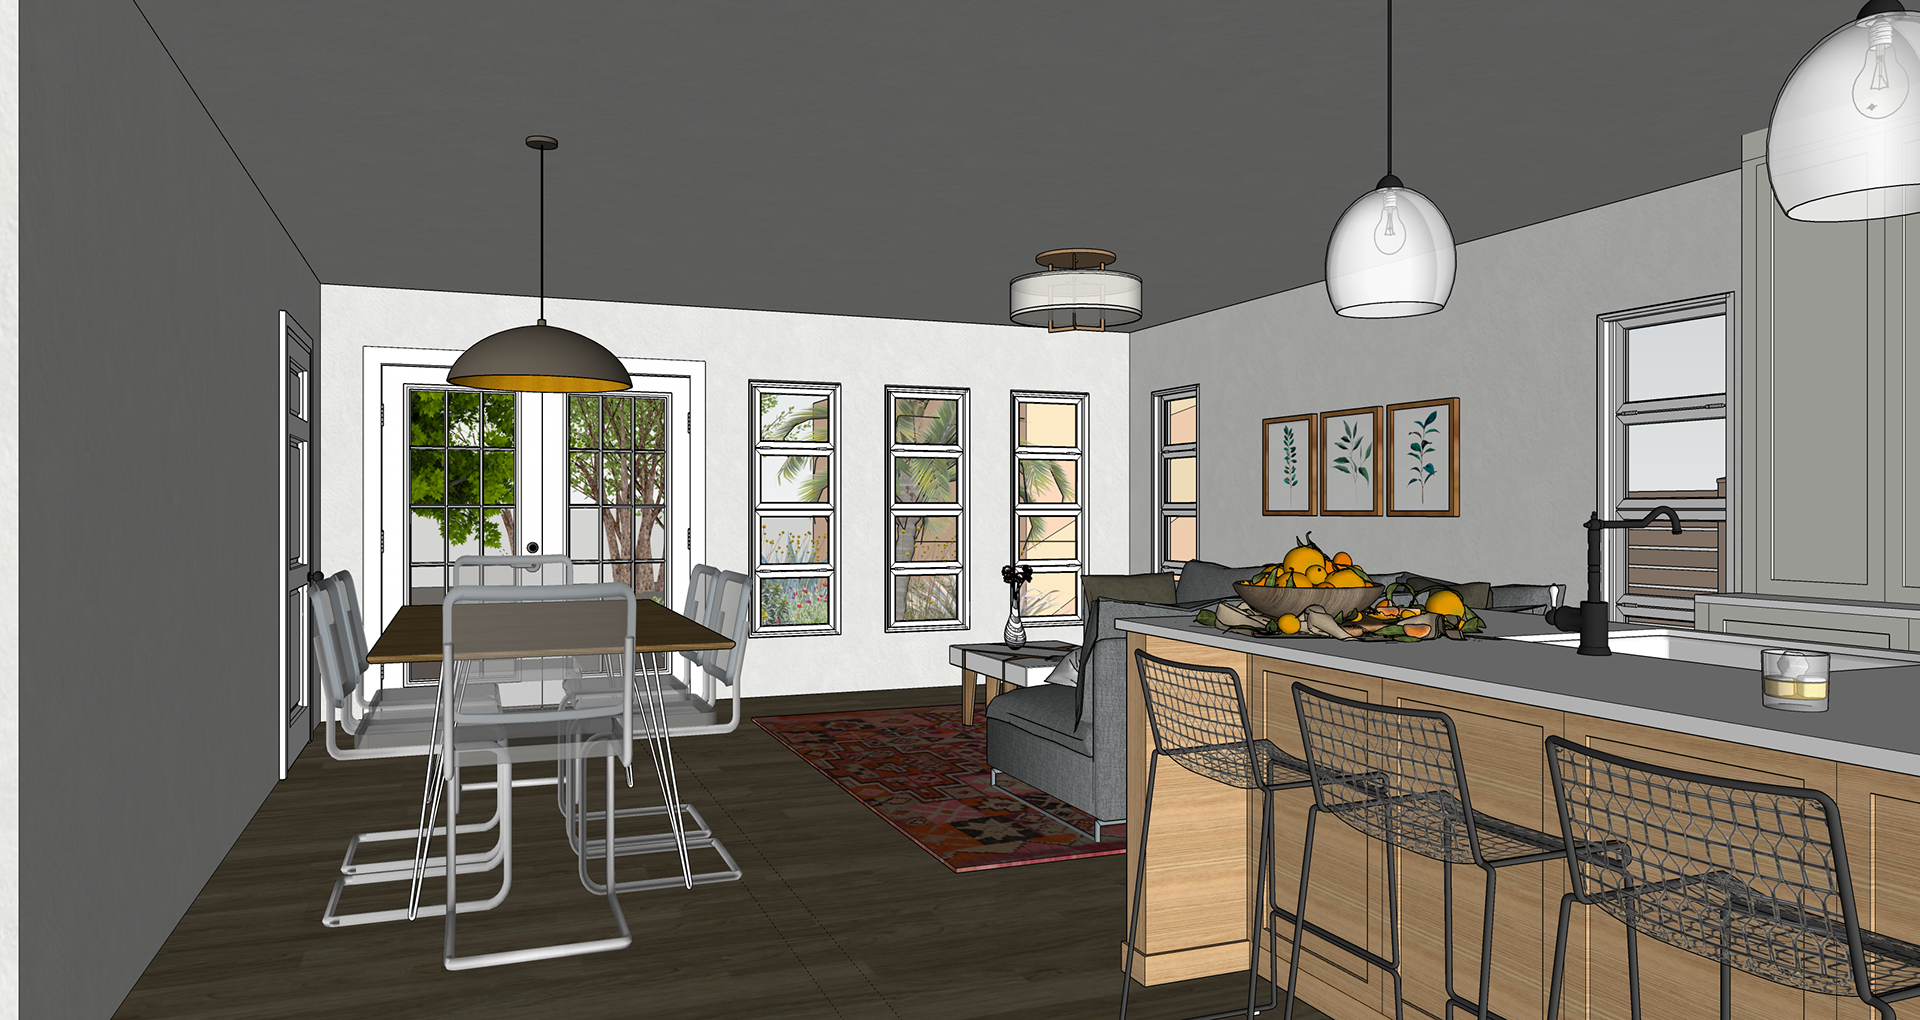
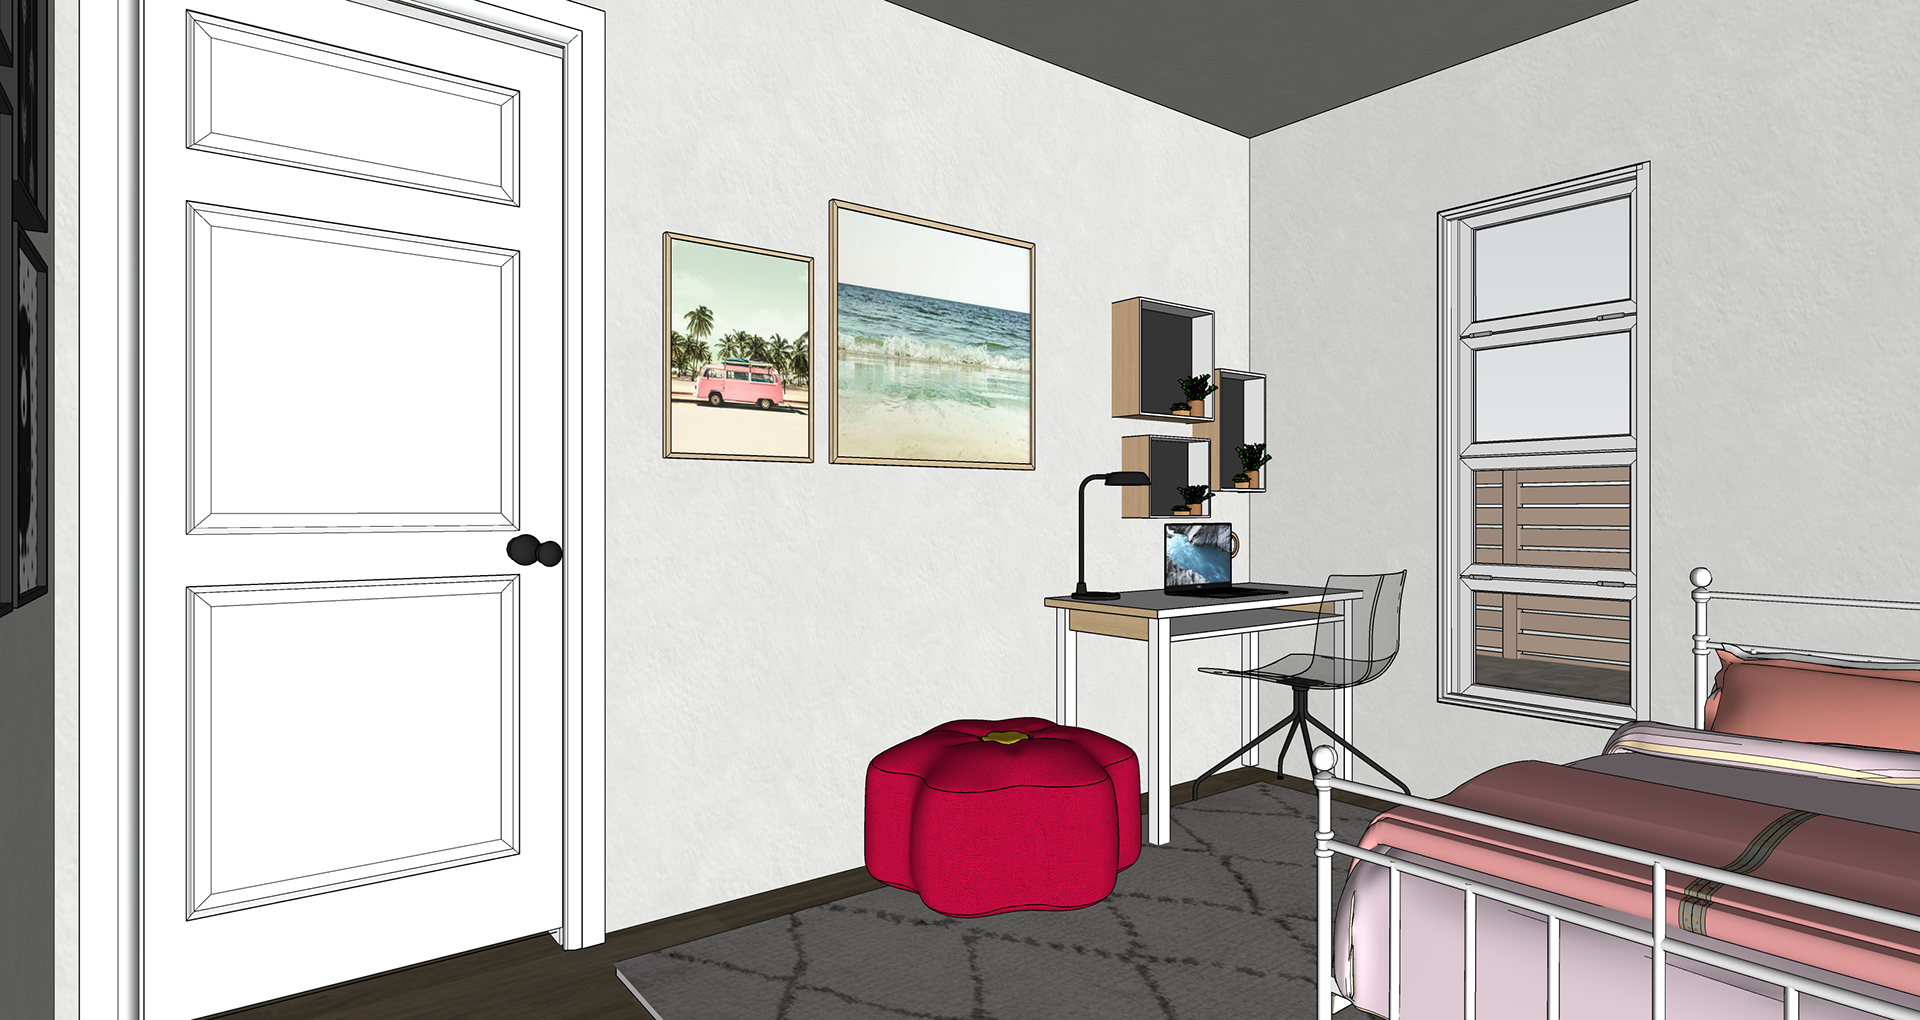
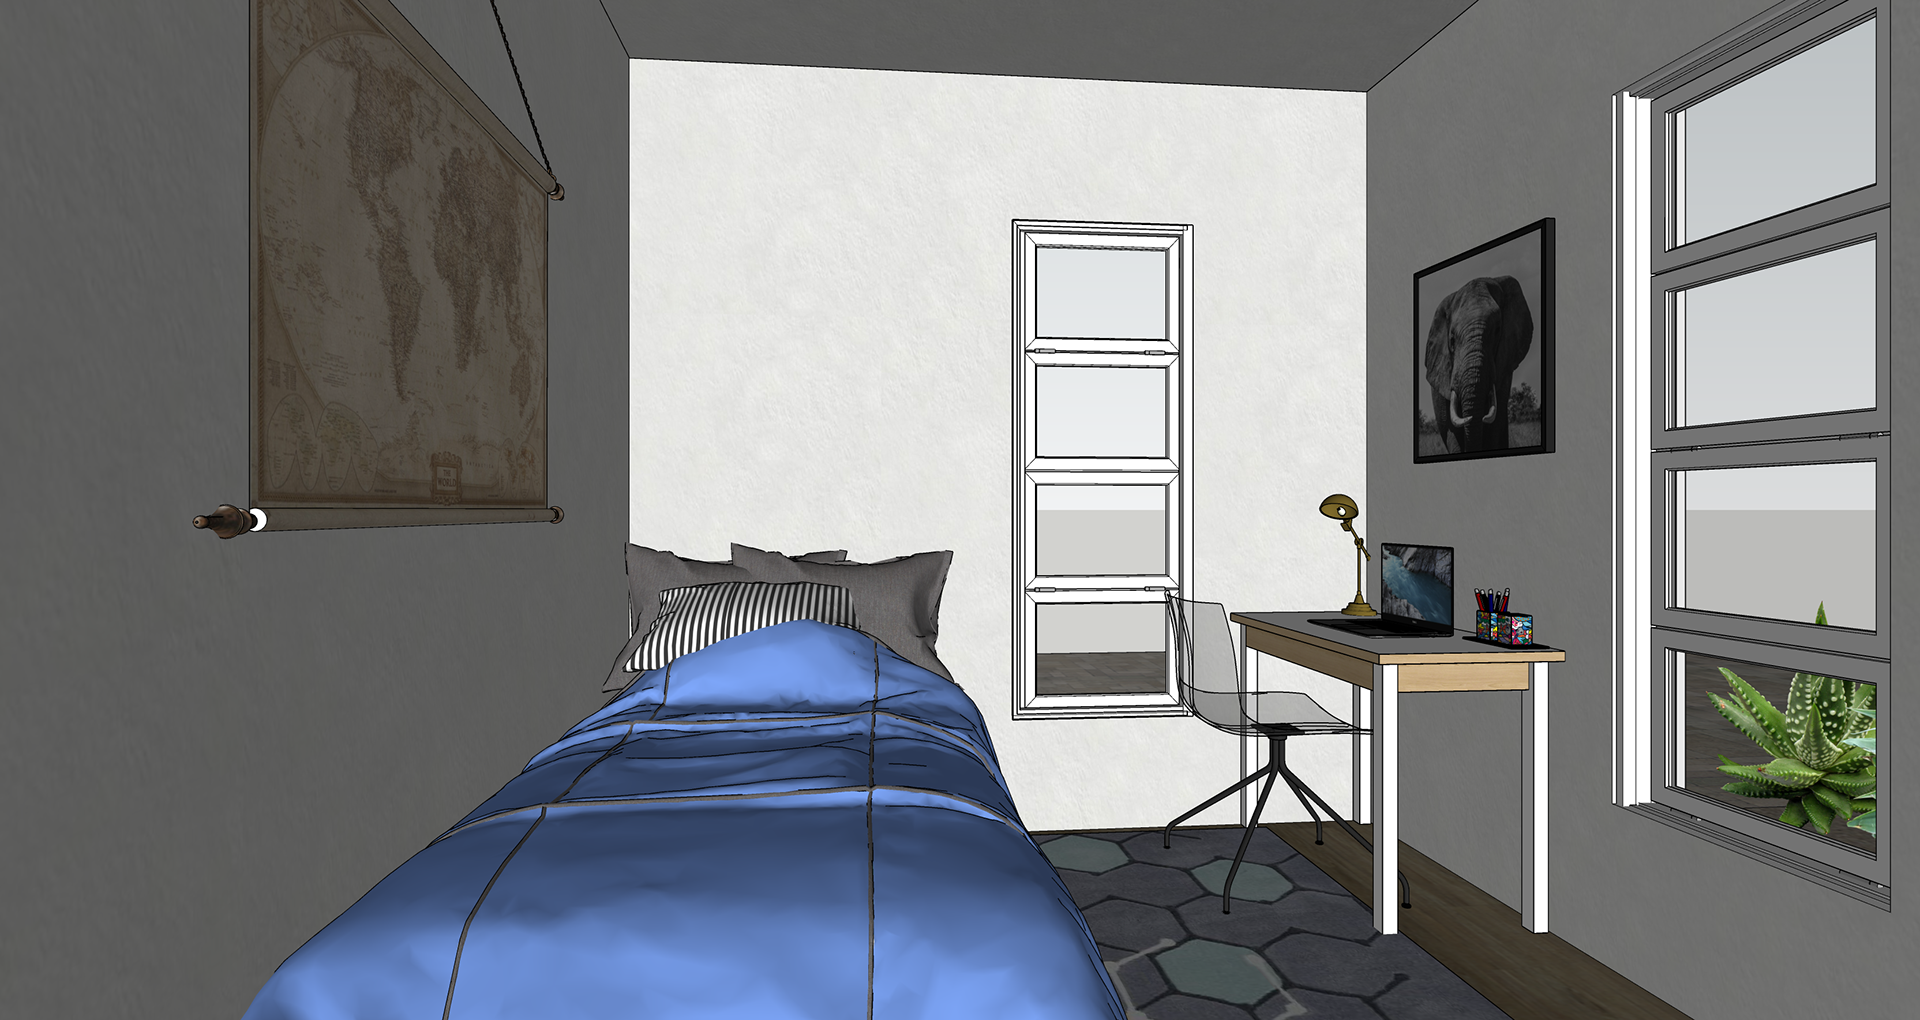
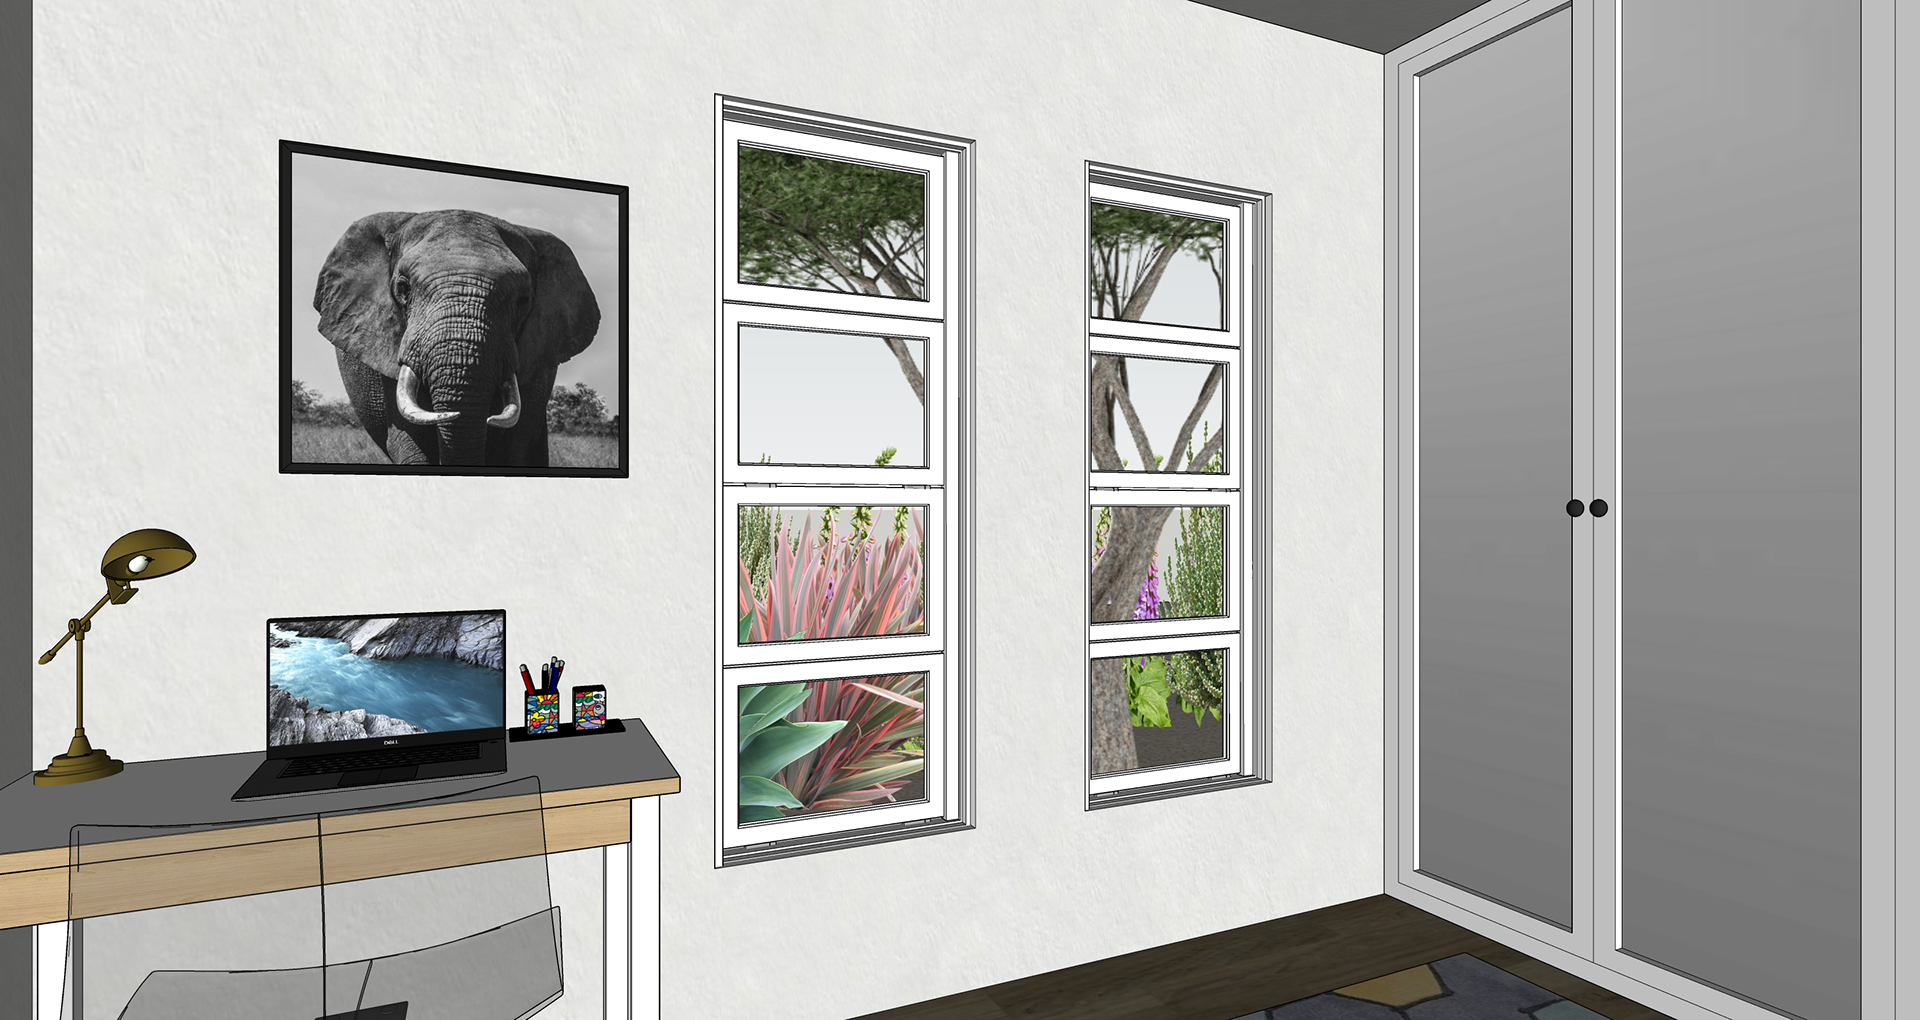
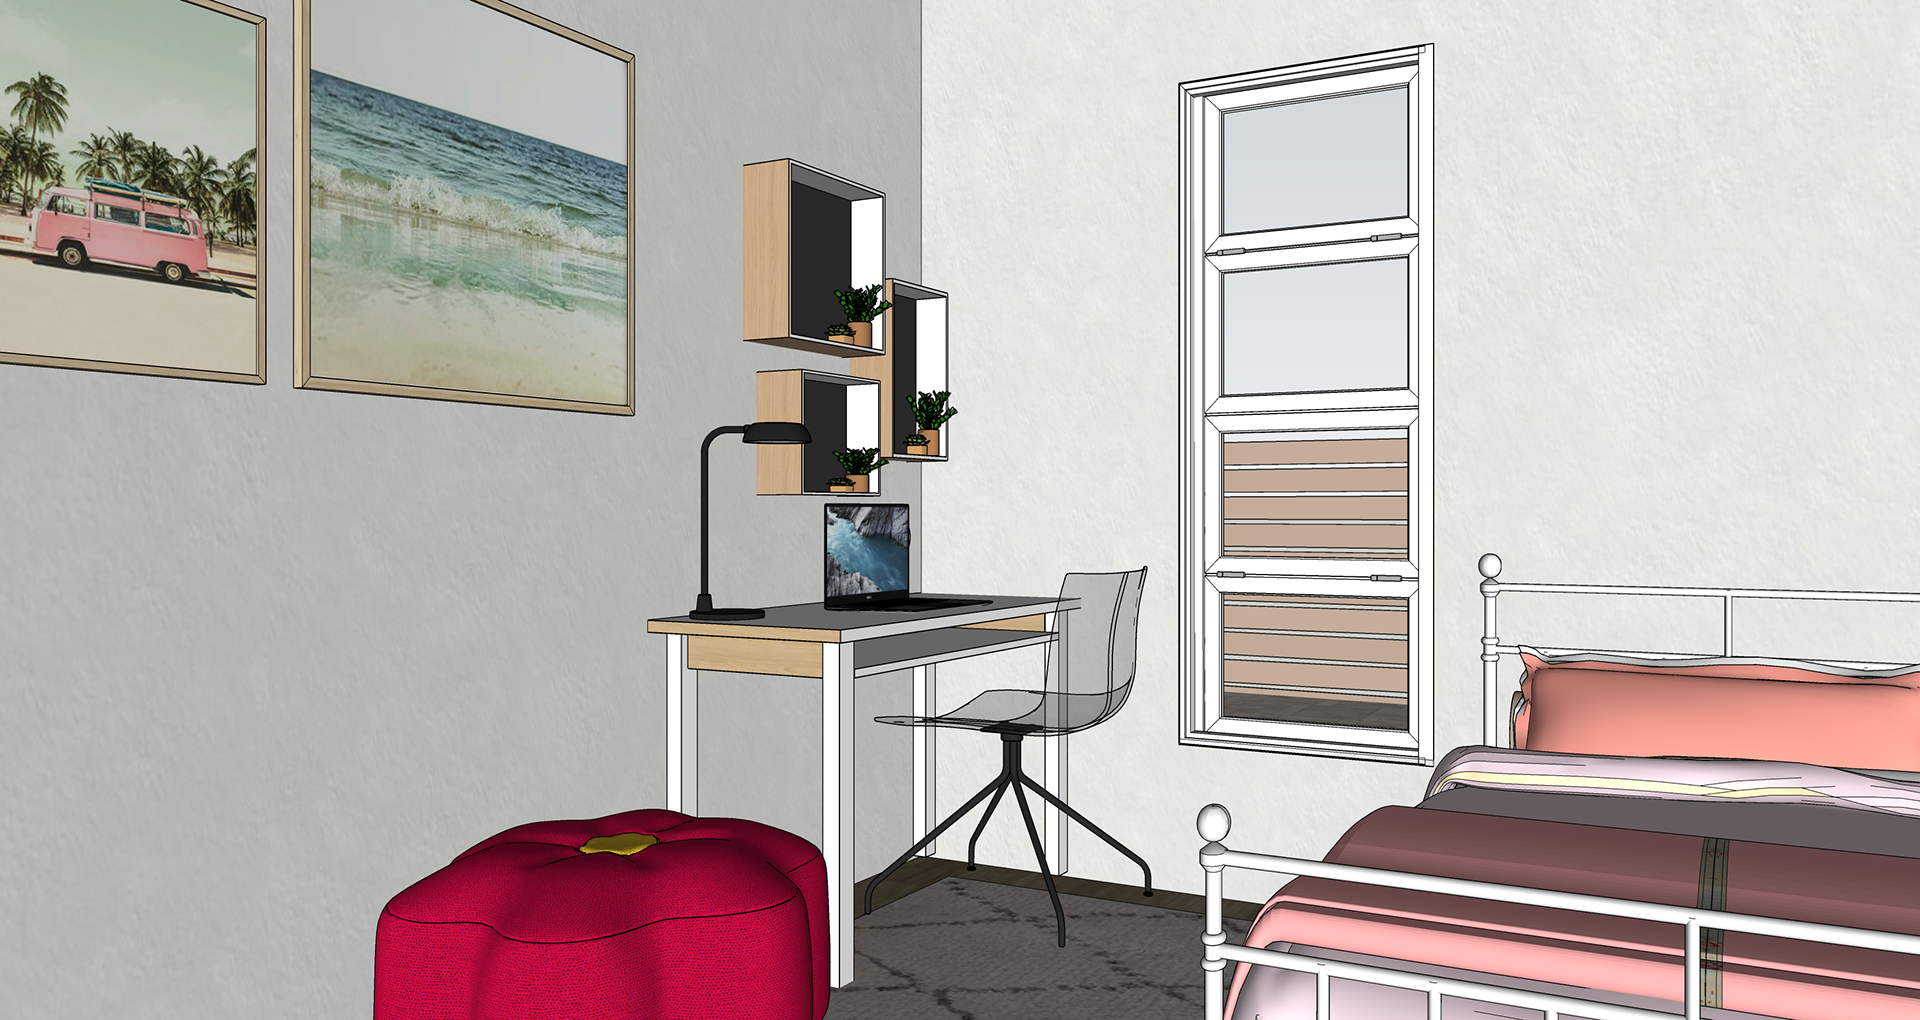
Below are some photo realistic rendered images of the two 3D modeled designs. I Included the animations I did for both as well. Some of the images below are taken directly from the model, like a screenshot, I like to refer to them as scene-shots. These images are not run through the rendering process. The benefit of these images is it cuts down on design time. The photo realistic rendering process is time consuming and the scene-shots can provide a pretty realistic example of how the space will look.
DESIGN CONCEPT #1 - All the images for this design are shown with photo-realistic rendering images.
The kitchen and dining room remain at the front of the home. An existing wall which separates the kitchen, dining room and entryway is removed. The new arched wall that separates the kitchen and living room keeps with the Spanish charm of the home and also provides the structural support that is needed. The clients also wanted to bring more light into the home. Removing some of the walls helped with this and also the possibility of added some skylights throughout the home.
DESIGN CONCEPT #2
The following images for this model start with the non-rendered scene-shots and lead into the photo realistic renderings. This design layout shows the kitchen and dining room relocated to the back of the home. With the additions, we were able to add a family room off of the kitchen, a side door entry that serves as a panty/mudroom. The arch design above the stove was a replication of a design the client found on Pinterest. Websites like Pinterest, Instagram and Houzz are helpful for me to discover the clients style and any particular elements of the home they would like to see reflected in the design.
The above is a collage of some thumbnail scene shots. These images show the difference between scene-shots and photo-realistic renderings.